Heating and cooling account for more than half of the energy consumption in an average household. Standard programmable thermostats offer scheduled timers, yet they lack the adaptability required for modern, dynamic living patterns. A smart thermostat bridges this gap by learning your daily schedule, detecting occupancy, and reacting automatically to real-time weather fluctuations.
Transitioning to automated climate control is one of the most effective strategies to curtail escalating utility expenses without sacrificing indoor comfort.
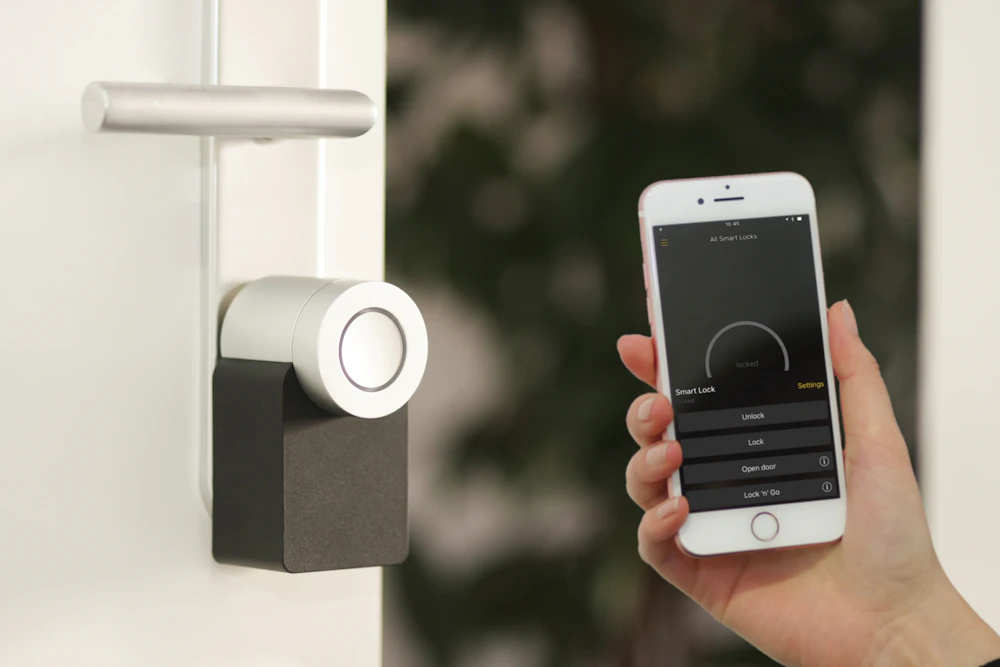
Smart home climate control interface displayed on a tablet
1. How Smart Thermostats Reduce Monthly Energy Consumption
Smart climate hardware cuts electricity waste through several autonomous algorithms rather than relying on manual adjustments:
-
Geofencing Automation: By syncing with household smartphones, the system establishes a digital perimeter around your residence. When family members leave the perimeter, temperatures transition automatically to eco-mode, eliminating wasted cooling in empty rooms.
-
Algorithmic Thermal Learning: Advanced units observe how long your specific HVAC system takes to reach a target temperature. If reaching 22°C takes 35 minutes on a warm morning, the hardware initiates cooling at the exact interval needed rather than running continuous inefficient cycles.
-
Time-of-Use Rate Shifting: In areas where electric utilities charge peak rates during late afternoons, compatible thermostats pre-cool or pre-heat the home during cheaper off-peak hours.
2. Essential Wiring Compatibility: The Critical C-Wire Requirement
Before selecting hardware, verifying your HVAC wiring prevents costly compatibility hurdles. The primary technical issue during installation centers on the Common Wire (C-wire).
Traditional mechanical thermostats operate on low-voltage dry contacts powered by simple AAA batteries. In contrast, Wi-Fi connected smart thermostats feature continuous backlights, radios, and microprocessors that demand continuous 24-volt electrical delivery.
Standard Thermostat Wiring Terminals:
[ R / Rh / Rc ]  --> 24V AC Power Supply
[ C ]            --> Continuous Common Wire (Powers Smart Screen/Wi-Fi)
[ W / W1 ]       --> Heating Relay
[ Y / Y1 ]       --> Cooling Compressor Relay
[ G ]            --> Indoor Blower Fan
If your current wall plate reveals only four wires (R, W, Y, G), you must select a model that bundles a Power Extender Kit (PEK) or utilizes an add-a-wire adapter to supply stable voltage without tearing up drywall.
(Ảnh 2: Chèn vào ngay trước Mục 3 bên dưới)
3. Comparison of Leading Smart Thermostat Architectures
Selecting the proper hardware requires balancing sensor capabilities with your preferred smart assistant ecosystem:
| Model Architecture | Remote Room Sensors | Ecosystem Compatibility | C-Wire Requirement | Key Operational Strength |
| Ecobee Smart Thermostat Premium | Included (Radar Occupancy) | Apple Home, Alexa, Google | PEK included in box | Multi-room occupancy balancing & air quality monitoring |
| Google Nest Learning Thermostat | Optional accessory | Google Home, Matter | Can charge via power-sharing (C-wire recommended) | Zero-programming automated schedule learning |
| Honeywell Home T9 | Included (Temperature & Humidity) | Alexa, Google Home | Dedicated C-wire mandatory | Priority room temperature targeting |
| Emerson Sensi Touch | None | Alexa, Google, Apple Home | Standard C-wire required | Traditional interface with modern remote app control |
Multi-Sensor Room Balancing
The most significant limitation of conventional thermostats is measuring temperature from a single hallway or living area. Bedrooms on higher floors frequently overheat while ground levels remain cold.
Hardware platforms such as the Ecobee Premium utilize distributed remote sensors. By placing battery-powered sensors in master bedrooms and home offices, the system prioritizes climate delivery where occupants actually spend their time.
4. Step-by-Step Installation and Network Calibration
Deploying a smart thermostat takes approximately 30 minutes when following standard low-voltage safety practices:
-
Cut Main HVAC Breaker Power: Switch off the breaker supplying power to your indoor furnace or air handler unit. Verify power cutoff by confirming the existing thermostat display turns completely blank.
-
Photograph Existing Terminal Labels: Remove the existing faceplate. Before detaching any wire, snap a clear photo documenting which colored wire connects to which terminal letter.
-
Label and Secure Terminal Wires: Apply adhesive wire tags to each wire based on the terminal letter (not the wire color, as color conventions vary). Wrap the wires lightly around a pencil so they do not slip back into the wall cavity.
-
Mount New Baseplate and Reconnect: Fasten the new mounting bracket using an integrated spirit level. Insert wires firmly into their matching terminal push-clips until fully seated.
-
Restore Power and Complete Network Setup: Switch the furnace breaker back on. Follow the on-screen prompts to connect the device to your 2.4GHz home Wi-Fi network and link your smart home app.
5. Practical Optimization Rules for Maximum Cost Savings
Achieving verified 10% to 15% reductions on seasonal energy costs requires setting realistic baseline temperatures:
-
Avoid Extreme Setpoints: Setting an aggressive temperature like 16°C on an exceptionally hot afternoon does not accelerate cooling; it forces the compressor to run indefinitely at maximum power draw.
-
Establish an 8-Hour Setback Strategy: Lowering heating targets by 4°C to 5°C (or raising cooling targets by 2°C to 3°C) during sleep hours or work shifts generates consistent reductions in monthly consumption.
-
Integrate Smart Window Sensors: Pair magnetic door and window contact sensors with your thermostat logic. Configure a rule to automatically shut down climate blowers whenever a patio door or window stays open for longer than 3 minutes.
Upgrading to a smart thermostat eliminates the inefficiencies of manual scheduling. With continuous environmental monitoring, remote sensor balancing, and scheduled setback automations, households achieve noticeable utility savings while maintaining optimal living comfort.